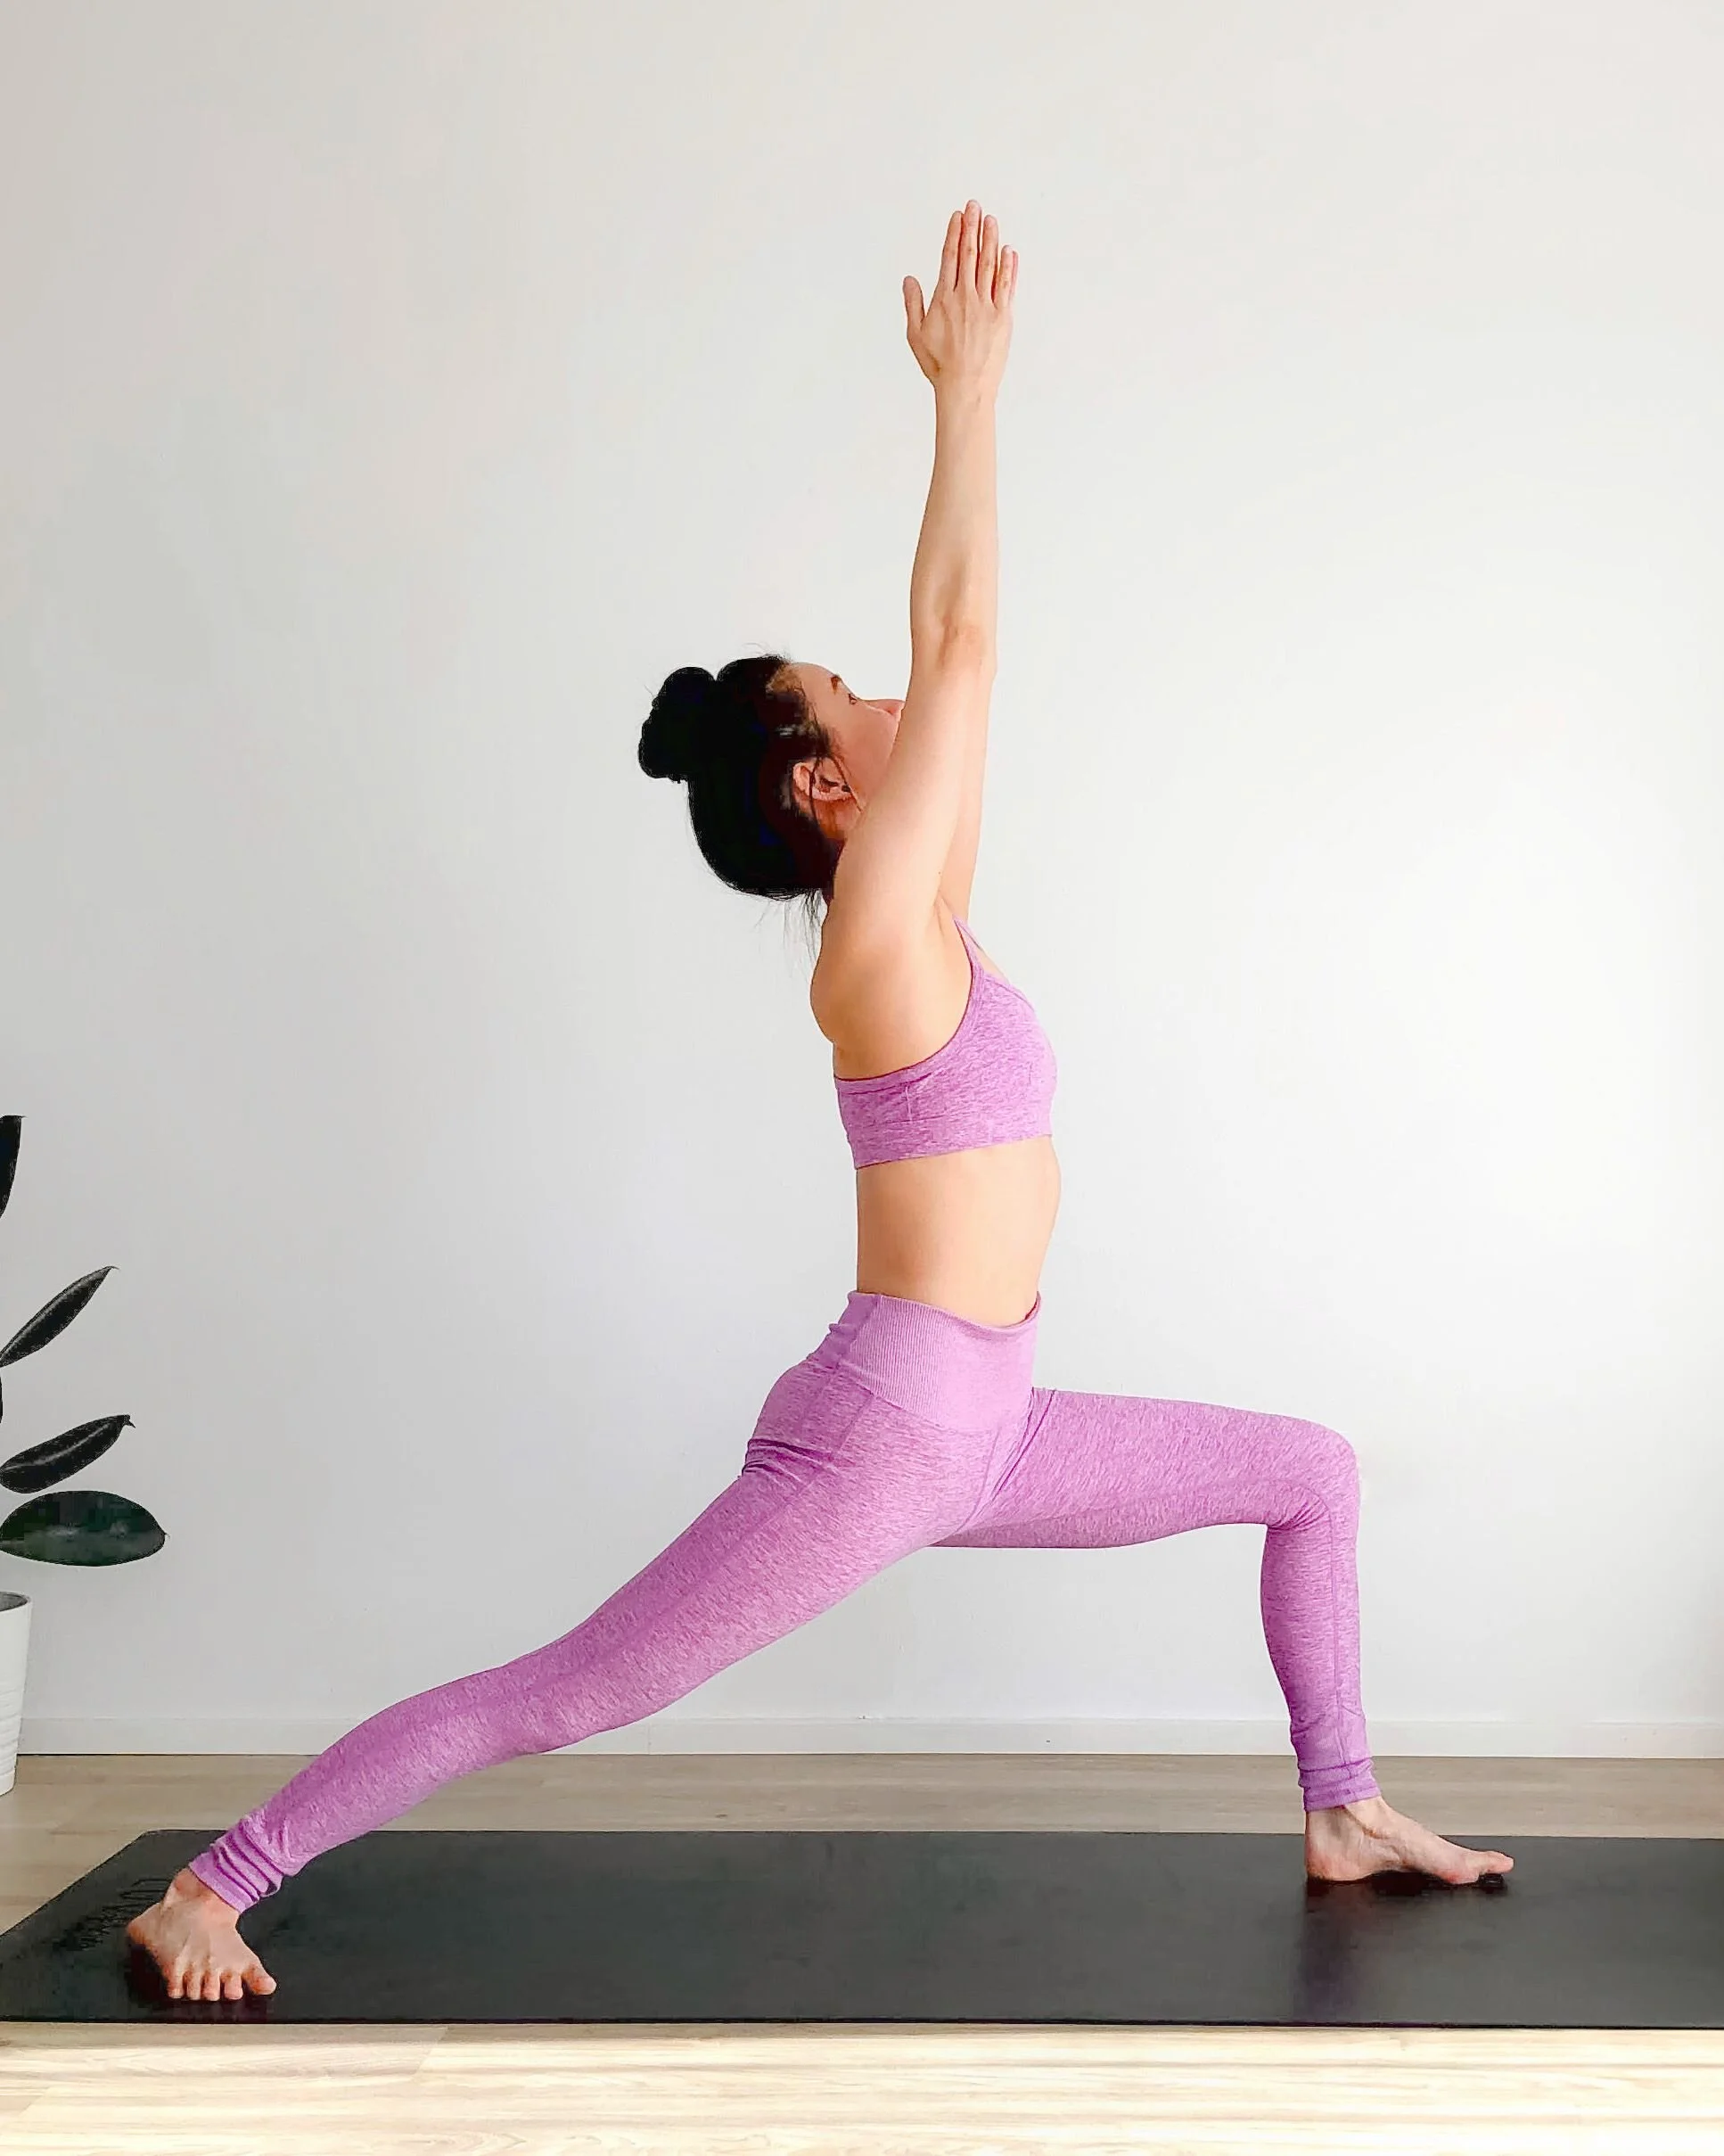
How To Do Warrior I Pose (Virabhadrasana I)
Learn the basics of this foundational yoga pose through a step-by-step tutorial, as well as the benefits, some modifications and common mistakes to look out for.
Werbung. This blog post contains a link to my Foundations of Yoga course.
Warrior I pose, or Virabhadrasana I (veer-uh-buh-DRAHS-uh-nuh) in Sanskrit, is a standing yoga pose named after the mythological Hindu warrior, Virabhadra. There are three Warrior poses (Warrior I, Warrior II and Warrior III) named after this fierce warrior, an incarnation of the god Shiva. The Warrior poses symbolise our own spiritual warrior fighting against our everyday battles - pride, ego, ignorance, false perceptions, and distracted mind.
Jump to:
Benefits of Warrior I Pose
Warrior I: Step-By-Step
Modifications
Contraindications and Cautions
Common Mistakes
BENEFITS OF WARRIOR I POSE
Strengthens the legs, ankles, arms, shoulders, and the muscles of the back
Stretches the chest, shoulders, neck, hips and groins
Improves balance and concentration
WARRIOR I POSE: STEP-BY-STEP
Begin in Mountain Pose (Tadasana).
On an exhale, step your left foot about 1 metre back (depending on the length of your legs). Your left toes should turn out at a 45-degree angle, and legs should be on two separate lines. Press down firmly through the little toe side of your left foot and pull up the muscles above your left kneecap to engage through this leg.
Bend down into your right knee, making sure your knee is in line with your right hip and toes. Try to square your hips and shoulders to the top of your mat and lengthen down through your tailbone by scooping your pelvis under slightly.
On an inhale, reach your arms up to the sky. Arms can stay shoulder-width distance apart, or you can press your palms together. Keep your head in a neutral position by looking forward, or take your gaze up towards your thumbs.
Relax your shoulders away from your ears, engage your core, stay firm through both legs, and feel a lift that runs up your legs, through your belly and chest, and up through your arms.
Stay for 5 breaths.
To come out of the pose, either lower your hands down to the mat and step into Downward Facing Dog, or lower your arms to your sides and step your left foot to the top of your mat, back in Mountain Pose.
MODIFICATIONS
If you have trouble keeping the back heel grounded while keeping the hips squared, or if you experience any pain or discomfort in your back knee, modify by lifting the back heel and pointing your toes forward, like a lunge pose.
If you find if difficult to stay balanced, spread your legs wider to the sides of your mat to give you more stability.
Deepen the pose by bending down further in your front knee, until your thigh is parallel with your mat.
CONTRAINDICATIONS AND CAUTIONS
If you have shoulder problems, keep your arms at your hips, or keep your arms parallel to each other instead of pressing your palms together.
If you have any neck problems or injuries, keep your head in a neutral position with your gaze forward.
COMMON MISTAKES
Not Squaring Hips to the Front
The hardest part about this pose is keeping your hips square. One way to get this feeling is to find your hip bones and place your hands on top of these two pointy bones. Imagine them as the headlights of a car. Are your headlights pointing directly to the top of your mat, or are they pointing out to the side? Think about pressing your front hip back and your back hip forward. You can spread your legs wider to the sides of your mat if you need.
Knee Falling Into the Centre
Often the front knee comes out of alignment and falls towards the centre of the mat. Think about gently pressing your front knee out to the side of your mat and keeping it line with your hips and toes on the same side.
Knee Extends Too Far Forward
Make sure to keep your front knee over your ankle, and not extending it past your toes in this position.
Kickstart your yoga journey now and transform your life
Join my 10-day Foundations of Yoga course to build up your basics and discover the transformative power of yoga.


